This is for new shooters who want to get into black powder percussion shooting , but have no idea what is involved with it or what they need.Lets keep it simple for beginners just as I was and still am but now have a little knowledge in it...Thank You...Ice..* ( If any one wants to add info please feel free to do so,just keep it simple)
OK folks....I got into bp shooting just over 2 years ago. I was never around one but got started in it with a few good friends who had done it for years. So here are the basics to get up and shooting bp rifles..First off you need a rifle.
Now you need your shooting supplies...they look like this..
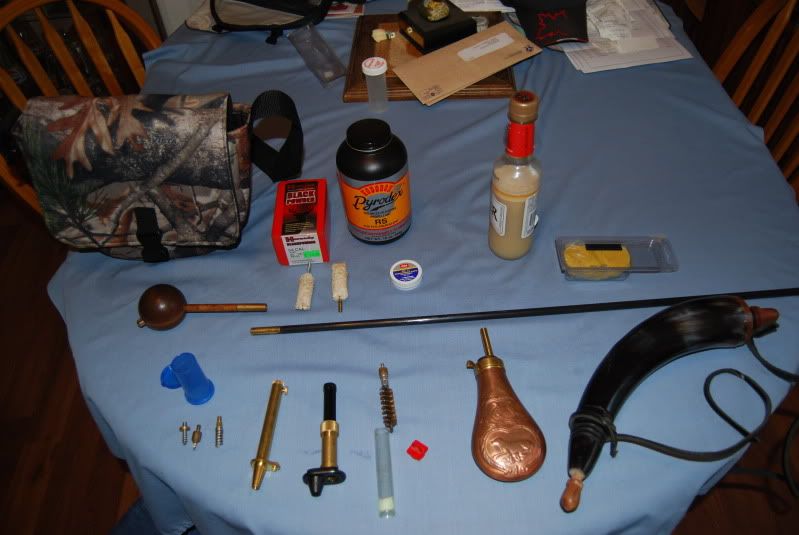
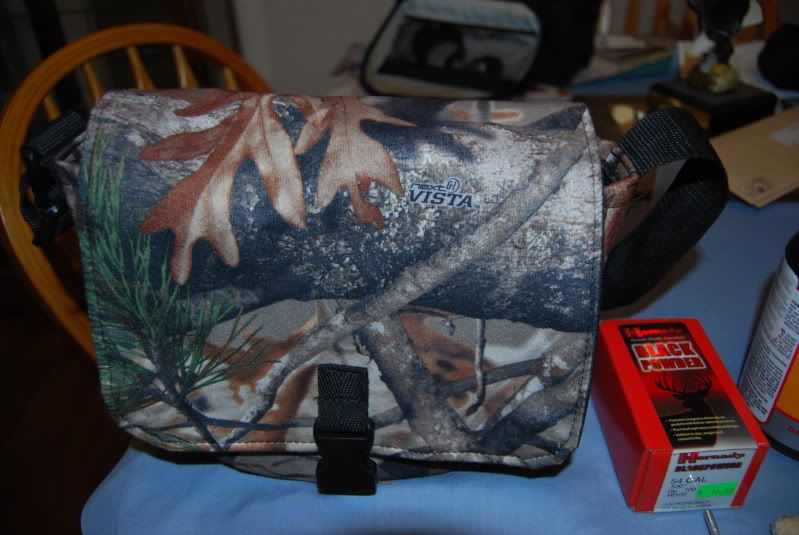
An now for a individual look at each one with a average price..First off is a possibles bag as they are called. I wanted a leather one but couldnt find it so had to settle for the camo one. They are used for carrying all your bp supplies while out in the field. Average price is $35-$40 for one..
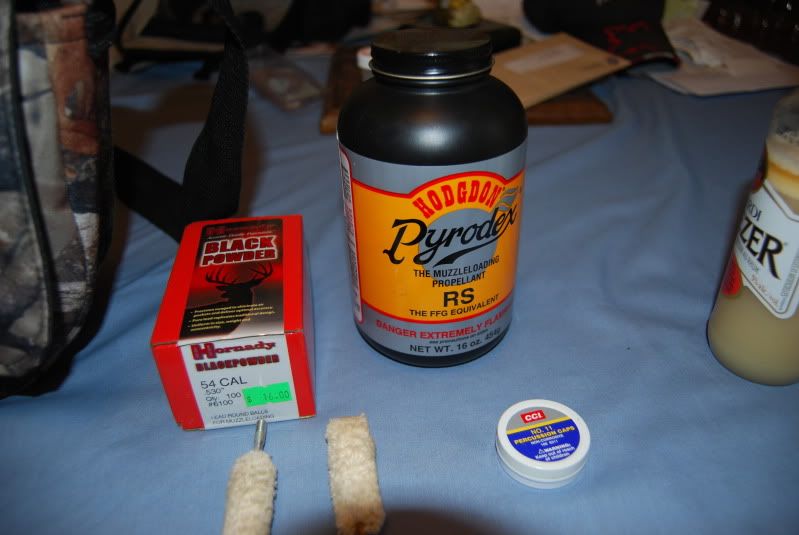
So forward we go..first off we need some powder and balls to shoot. Please check out recommended loads for your rifle and load weights ..and dont exceed them..
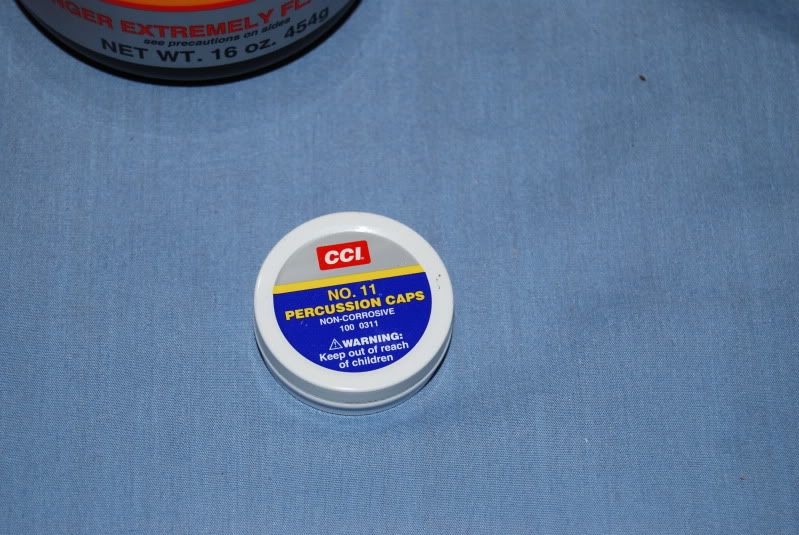
An now we need some fire to get the fire going..caps....namely percussion caps. I have been using cci ones,never had a problem with them and by a 100 pack expect to pay $4-$6 for a tin full of 100..
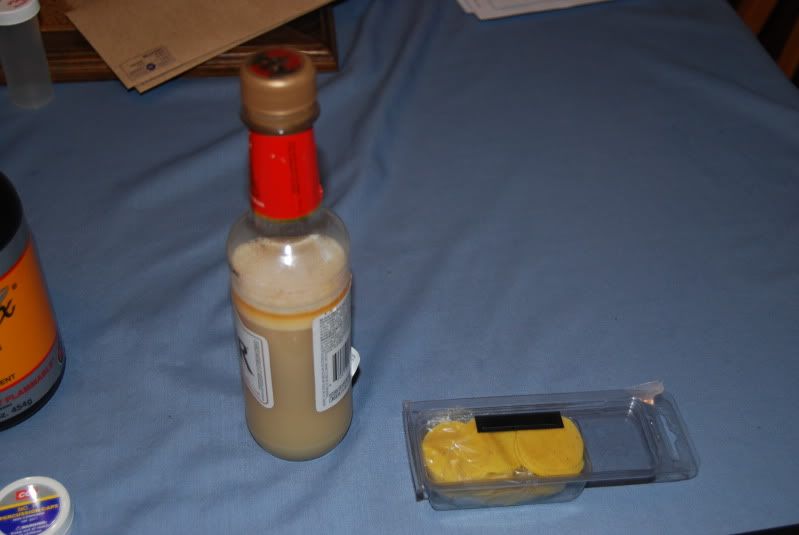
Patches,without them the ball will simply fall into the barrel. They lube the barrel as well as create a tight friction fit for the ball. One thing to note in my pic,the patches on the right hand side are prelubed and when fired CAN START A FIRE IN DRY GRASS...so be wary of that.The bottle beside it contains whats called moose milk. Its made up of a few different things which are covered in a different thread if you want to play with things. Patch material for the milk can come from different sources,but for a beginner lets keep it simple and use prelubed patchs of the proper thickness as prescribed in good loading data.
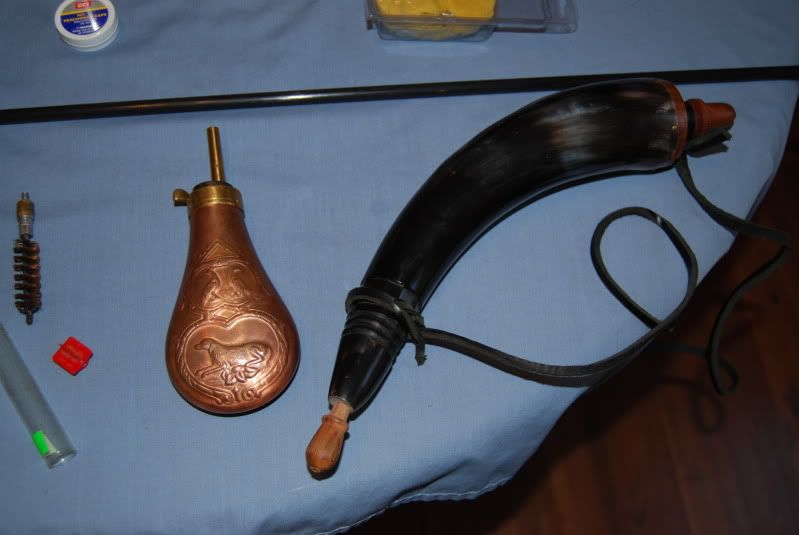
So now we need to carry some powder...these are called flasks. I personally like the one on the left hand side as its a civil war era repro flask,right is a antique bone powder flask. Alternately if you cant find either you can still use a spoon to fill up your powder measure,its just a pain in the butt to do it that way.Cost are right around the $40 mark for either...but your mileage may vary..
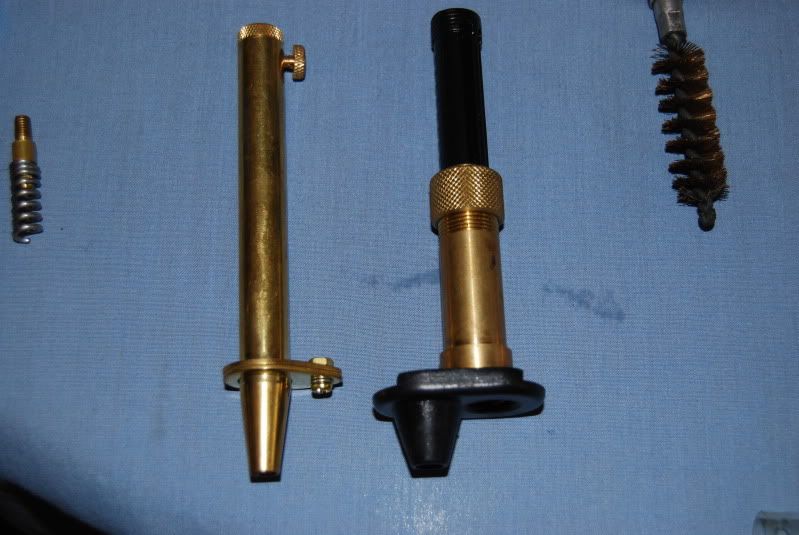
Powder measures...2 shown but both do the same thing.They are graduated from 10 - 120 grains each. You simply unscrew the locking collar,set for your charge weight,lock the collar back in and you are good to go. On the funnels you will notice a thing that slides back and forth. What this does is slides one way and stops,you fill the measure up with powder from your flask then you slide it the opposite way and you have a very simple funnel to pour the powder in your barrel. Just make sure to give it a few extra taps after pouring to make sure all the powder is out of it and you dont get a under or over charge upon firing your new bp rifle..Cost is about $15 bucks or so..
Now the next thing is a short starter. What this does is allows you to start a slug with ease.I will post a couple of pics as to how its used.
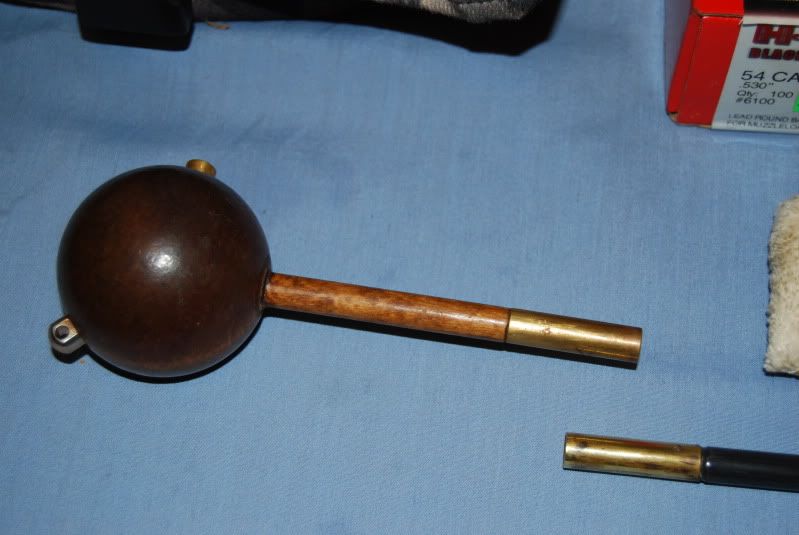
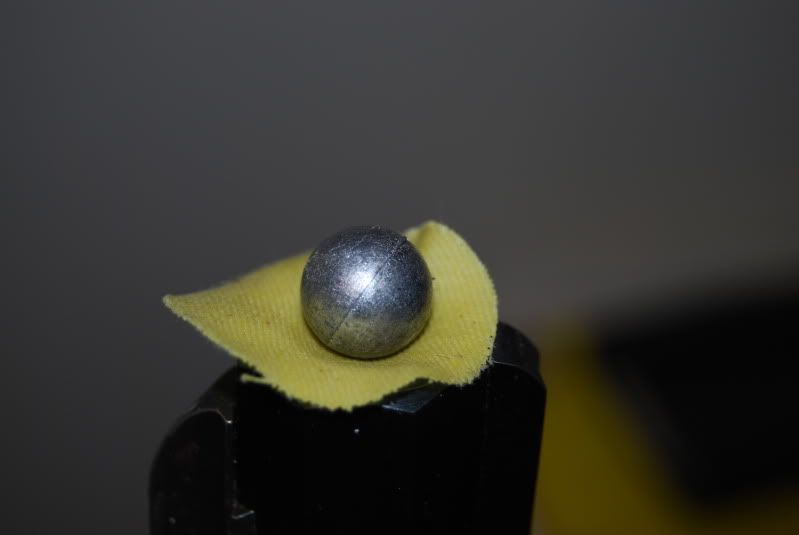
So lets assume you have powder in the barrel as mentioned above..now the first part of a short starter allows you to seat a ball with ease...notice that I have a patch on the barrel and a ball ready to be seated.* please note I am doing this in my house and am not loading up a live round*
now the short starter being used..Note that the short starter has 4 tools to it,first it has a swivel stud for ease of carry in the field,its round on top so that using it really saves your hand from punishment while reloading,the longer part is to seat your ball/bullet down to where you can finally seat above said projectile with the long ramrod on your rifle...and finally a drilled out section that will fit over your ramrod and not wreck your hand. More pics..So here we go..
Powder in the barrel,patch on top,ball ready to go in and the shortest part of the short seater ready to start seating..
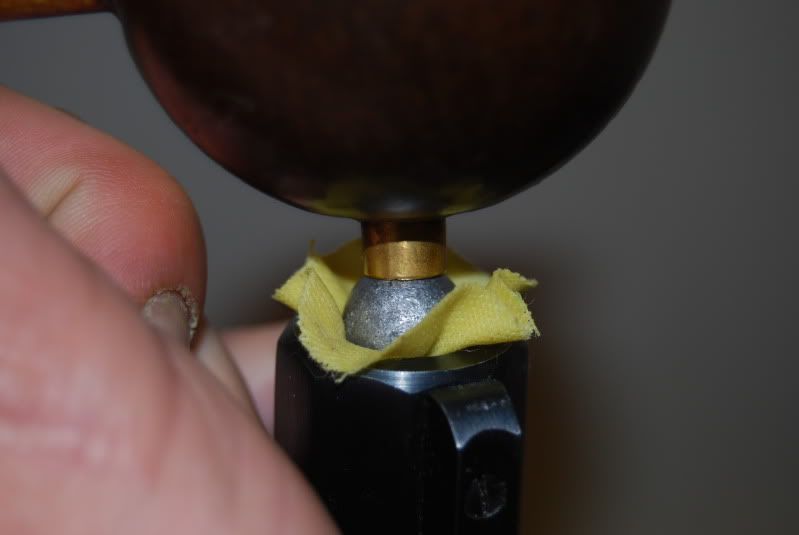
Now the second part is to use the 6 inch part of the short seater and push the ball down further..
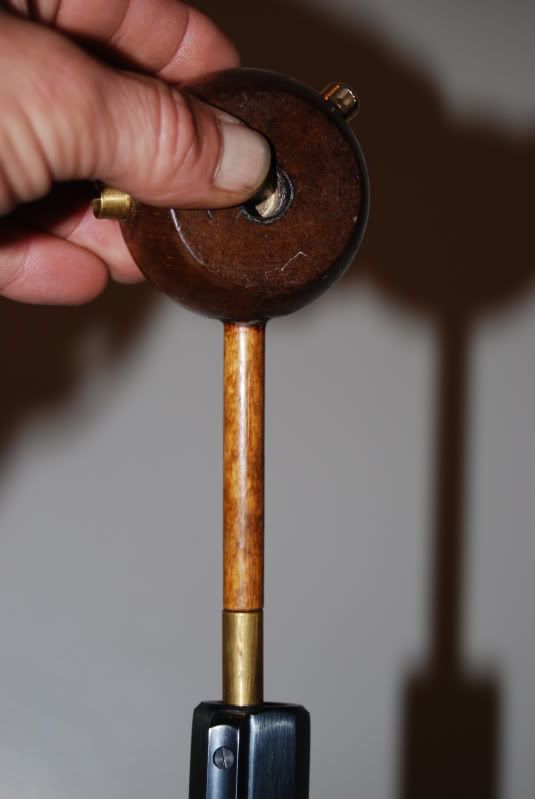
The reason for it being round is that its easier on your hand when seating a ball or slug...now next step...remember from above the drilled out section of a short starter...here it is
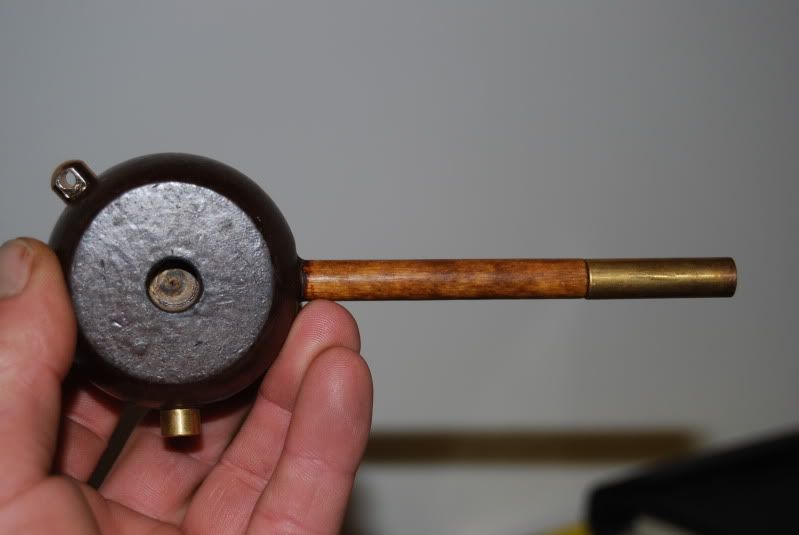
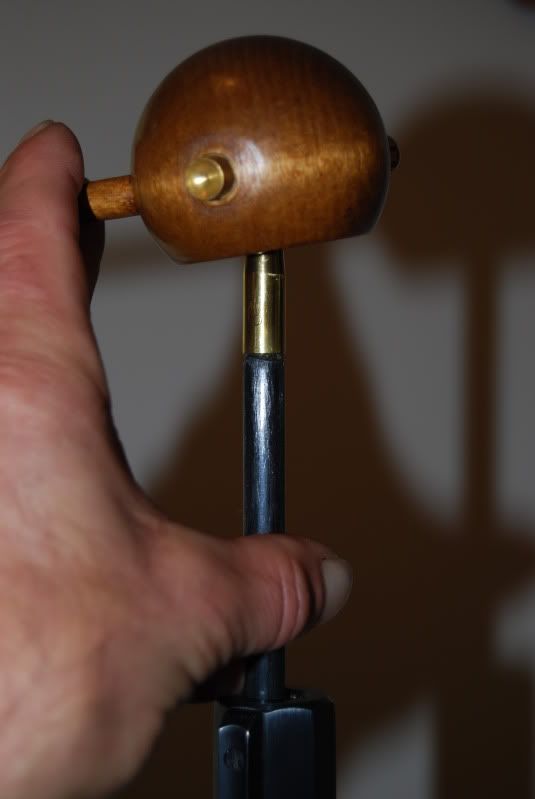
This will fit over the ramrod from your rifle and make ball/slug seating easier I prefer the old fashioned method just because...but women like doing it this way cause its easier on the hands for them. For some reason photo bucket is really screwing up right now...so gonna post the rest of this later..K photo bucket is back up and running and so am I. Here is the next pic for ya.So you started with the short starter,then the 6 inch end of the short starter and now the ramrod.It only takes 2 or 3 good pushes to seat the ball on top of the powder.The ram rod can either be done with your hand and no short starter as I prefer or it can be done like this.Place the drilled out cavity ( on the short starter) and use it to push the ball home. One thing to remember,when the ball seats you will know it.Dont try and keep hitting it down cause you arent sure and compress the powder charge down to tightly.Alternately you can *tamp* the ball down.This is done by either using the ram rod in your hand and tamping the ball in place,or using the short starter and placing it on top of the rod and using your open palm and hitting it and forcing the ball down on top of the powder charge.Either way works just fine..
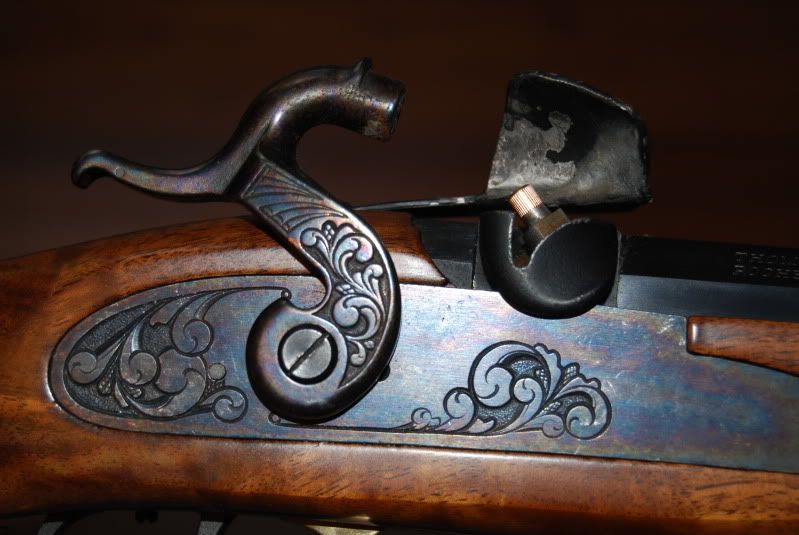
Alrighty so we have powder in the barrel,a ball seated and now for fire. Place a cap on the nipple and you are good to go.Push the cap down tightly,hammer is already cocked,watch your trigger closely cause you are ready to fire...
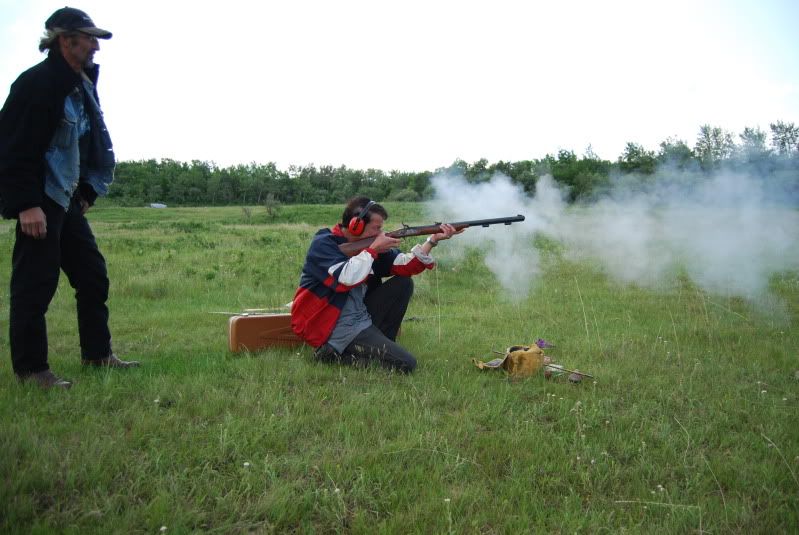
This is the end result...dont expect a big bang,its more of a click,followed by a split second and a kerWHOMFP....lots of smoke,little recoil,lots of burnt gunpowder smell...and a grin from ear to ear
there ya have it folks...bp shooting on a very simple scale...Oh by the way,if the wind is right,fully expect to go home reeking of burnt black powder..